Windows 10 Family Safety: Parental Control in your computer
Parental controls are not only for mobile devices, but also for computers. Minors also use PCs very often and they can be affected by problems such as viruses or spam. Threats which minors can’t solve without their parents’ assistance. Therefore, it is also necessary to protect these devices from the threats they may suffer, and this can be done with the parental control incorporated in Windows 10.
Most of you have asked whether SecureKids is available for PCs, however, SecureKids is only available for Android devices.
If you haven’t tried our SecureKids protection yet, don’t hesitate to try it here and for FREE


How do I enable the parental control in my PC?
Because of all these problems, I would like to talk about the Parental Control which is incorporated in Windows 10, this Parental Control can help you with the task of protecting your children against the threats on the internet.
What we are going to learn with this post is to basically assign our children an account protected with a PIN code, which you can manage from your own account in Windows 10.
Therefore, the first step is create an account for your children.
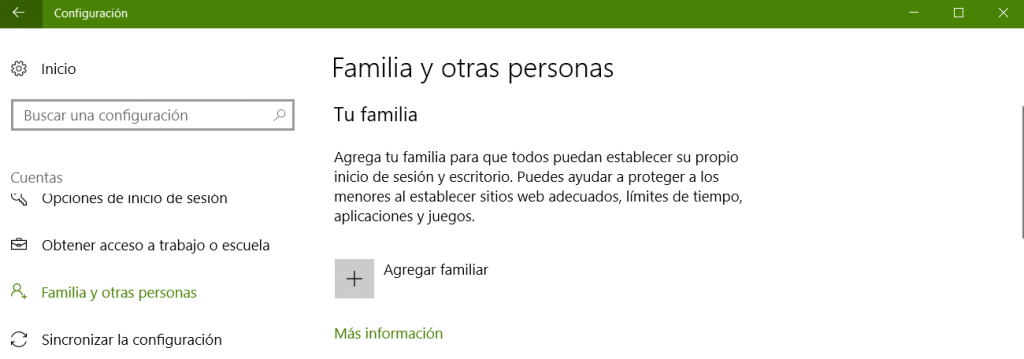
To create an account, go to System settings > accounts > Family and other users > add user. Remember to sign in using your Windows account in order to be able to create a new account.

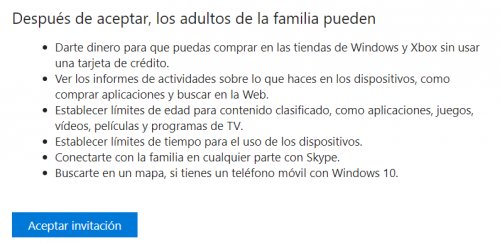
Create the Windows account for your children. Once you finished the process, an invitation will be sent to the email you use to create your children’s account to join the family group with the advantages you can check in the next picture.

The status of the account created will be “pending” until the invitation is accepted. This means, they can sign in and use the computer, but without any protection you set for this account. So make sure the invitation gets accepted and the account is properly protected.
You make sure the account’s protection is active in the following picture.
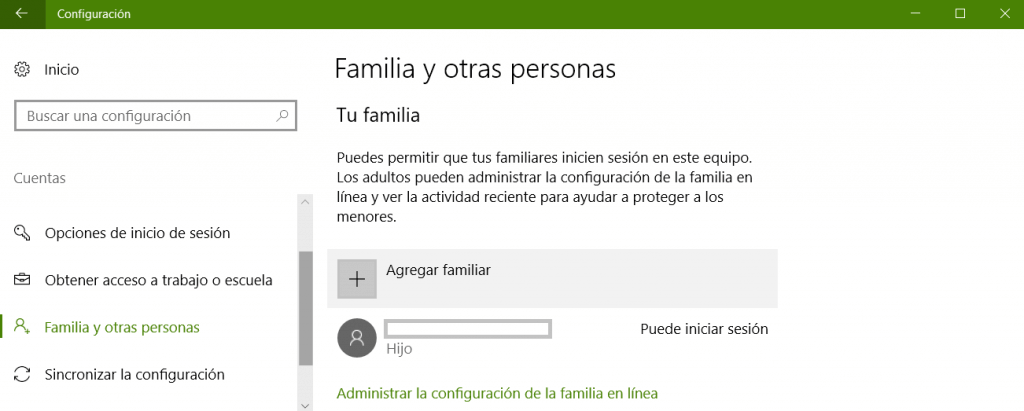

Once your children’s account is properly set, you are ready to go to Microsoft Family Safety. You can click on “manage family setting online” in the same section you created your children’s account.
This link will redirect you to the website, where you can check your children’s account, access and change the settings.
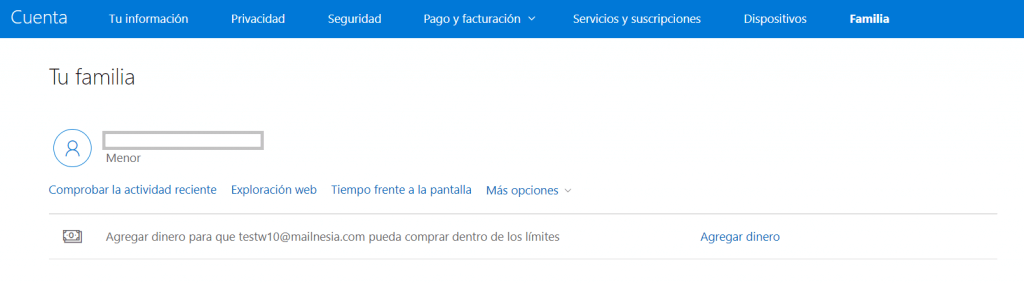

Ready! Now you only have to set the account according to your children’s needs.
Windows 10 Parental Control Features
Some of the features of Windows 10 are already available in SecureKids, these features are:
- Recent activity
In this section you can check the websites your children browse, the most used apps, as well as how much time they spend on each of them.
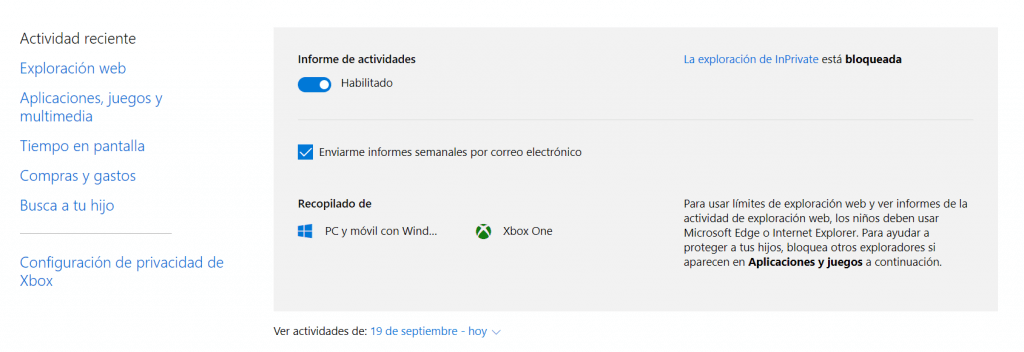

- Web explorer
As well as with SecureKids, you can enable the blocking of non-secure websites, and also set a whitelist of websites and websites you wish to block.


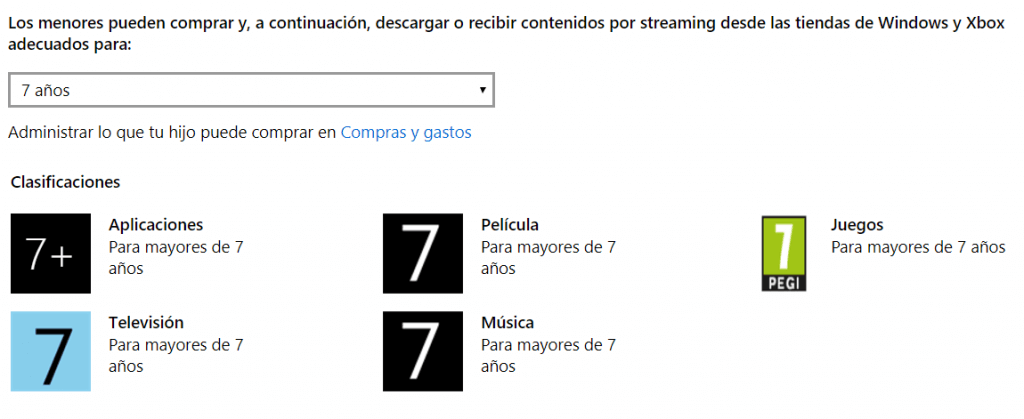
- Applications, games and media.
As for applications, Windows Parental Control allows you to filter the applications your children and install in your PC according to the age rating they have. For example, if your kid is 8 years old, we can limit their searches to the applications designed for children older than 7 years old.

Apart from having a list of allowed and blocked applications, we also have an allowed and non-allowed list for websites.
- Screen Time
This feature is quite similar to SecureKids’ breaks. It allows to set time frame in which the PC and Xbox will be blocked.


Did you like it?
We hope you liked and found useful this brief introduction to Windows 10 Parental Control Family Safety, if you have any questions or doubts, just leave a comment 😉